How to put together PDF patterns.
Pattern companies are moving more and more into online sales, enabling you to print your own size and put it together (or print A0 with a print shop). This allows patterns to be more affordable, and also means if you damage your pattern pieces you can simply reprint!
However we've been hearing that a lot of makers are overwhelmed by the concept after years of using traditional patterns - so here is a quick tutorial on how to put your patterns together.
What do you need?
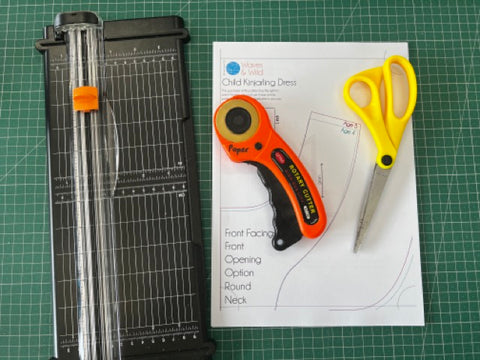
- Pattern pieces printed in A4 at 100% scale
- Sticky tape (or glue if you prefer)
- Ruler
- Scissors and/or rotary blade
Handy tip is to keep a bunt blade specifically for paper cutting.
Step 1:
Some patterns will be 'trimless' and some will require some trimming to help align your pieces together. Ensure that any cutting is done right on top of the boundary line. Just cut one side, and one end (I am in the habit of cutting the left side of the pattern piece, and the bottom end).
I prefer to use a paper guillotine or ruler to help get these lines cut perfectly.


Step 2:
Align your pages using the guides, as well as noting the pattern lines are matched perfectly. The guides in this pattern are semi circles and will create full circles once all pieces are together.

Step 3:
Tape the pages together as you go. Once completed you will note the completed corner guides and it will appear as if it is a full pattern.

Step 4:
Using your scissors/rotary, cut along the lines for each pattern piece. This is another spot I find a ruler or guillotine helpful with straight lines.
If you have printed all the sizes, then you can also trace the size you like onto pattern trace or freezer paper, and then cut it out from there.


